When the cross and dado cuts were completed, I moved to solving the problem of the dowel.

This was a problem because the dado blade only allowed up to a 13/16" cut. In order to compensate for this difference in size (13/16" vs. 7/8"), I used my handy table saw to make very thin cuts in the dowel.
 I can't exactly say what the measurements of the cuts were, maybe a few 32nds of an inch. I did this just to make sure the dowel would fit without having to make any more cuts in the main pieces of wood.

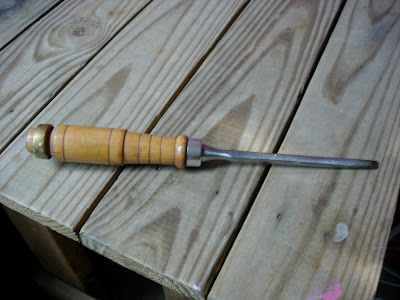
Once all of the preliminary cuts were made, I used multiple sandpaper grits to smooth the edges of the dado cuts and the cuts made on the dowel. I also used a chisel to chip away some extra wood that was remaining on the dowel.


Here you can see the small cuts allowed the dowel to rest snugly into it's housing in the piece of pine:


Before clamping and gluing, this is what the sword looks like when it is put together:
 In order to create a snug housing for the sword's hilt and to make sure the sword will be stable, you must glue the pieces together and clamp them tightly. The best way to do this is with c-clamps, Gorilla Glue, and some scrap wood.

Gorilla Glue is a superior glue that foams up once it's been applied to the surfaces it is bonding. In case you want to use a steel rod instead of a wooden dowel, Gorilla Glue will still work for you. You will want to apply the glue to only one piece of wood and to the dowel. Make sure to wide down the piece of wood that you apply the glue to with a damp towel. I suggest creating a squiggly pattern which will ensure maximum coverage.
 Once you have applied the glue, you should let it sit for a few minutes to allow it to start foaming. The foam will expand to about 4 times it's initial size. After about five minutes, begin to sandwich the pieces together. You will want to make sure you clamp in strategic places such as on the ends and close to the middle.
 I used 12 clamps total in order to ensure the best coverage I could get. As you can see, the glue will foam quite a bit and may leak out of the sides. You can sand this off later, or wait to see if the cuts you make will get rid of the excess.
No comments:
Post a Comment