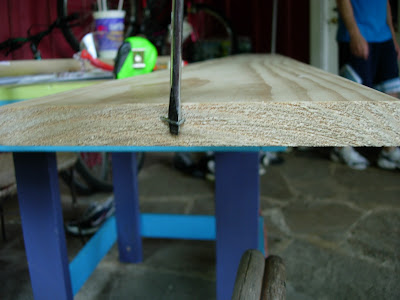
First of all, you need the wood itself. Like I discussed in the first part of the tutorial, I chose to use clear pine. After you have gathered your wood, be sure to remove any harmful elements, such as staples, tags, etc.

Next, you need to gather the tools you'll need to begin measuring and cutting your wood. I'd highly suggest using a large ruler or a tape measure to accurately mark the places where you will be making cuts. Also, make sure to be prepared with goggles to protect your eyes and ear plugs to protect your ears.

 Once you have your tape measure handy, measure the length of the wood (8') and find the center point (4'). My wood was a bit longer than 8', so I found the center and marked it based on the extra length.
 Once the wood is measured, you can get ready to make your cuts! In this part of the tutorial, I will only discuss the cross cuts, the dado cuts, and the small cuts on the dowel. The more complex angle and bevel cuts will be discussed in a later part of the tutorial. In order to cut the large piece of wood in half, the cross cut, I opted to use a radial arm saw.
The radial arm saw was optimal because you can easily reinforce the wood against the jam I have set up. It is also convenient because you don't have to push the wood through the saw to complete the cut, you pull the blade through. You could easily use a table saw, etc. if you don't have a radial arm saw, but I would not suggest using any type of hand held saw for these cuts. The cuts were clean and although the sword bade will be shorter than 48" (blade length will be around 43"), this was the easiest measurement to go by in order to give some leeway in later cuts.

The next cuts I made were the dado cuts. These cuts are the grooves made in each side of the wood where the handle will sit. As the name suggests, the cut was made with a dado blade:
 A Dado blade is a blade consisting of a circular blade mounted on an adjustable, multi-piece hub that varies the angle of the blade to the arbor shaft. Essentially, it wobbles around to create dado or groove cuts. I mounted this blade on my radial arm saw and used it to create the grooves that will house the dowel which will act as the sword hilt. After a lot of careful measuring and realizing that my wood was not actually 8" wide, I established the measurements for the grooves on some scrap and then prepared to make the cuts.
Once I had realized that the wood I bought measured something like 7.25", I decided that I would make the sword width 7" instead of 8". This gave me the ability to have some flaws in the measurements of the middle of the wood because I'll have to trim it down anyway. This is what the cuts look like:


No comments:
Post a Comment